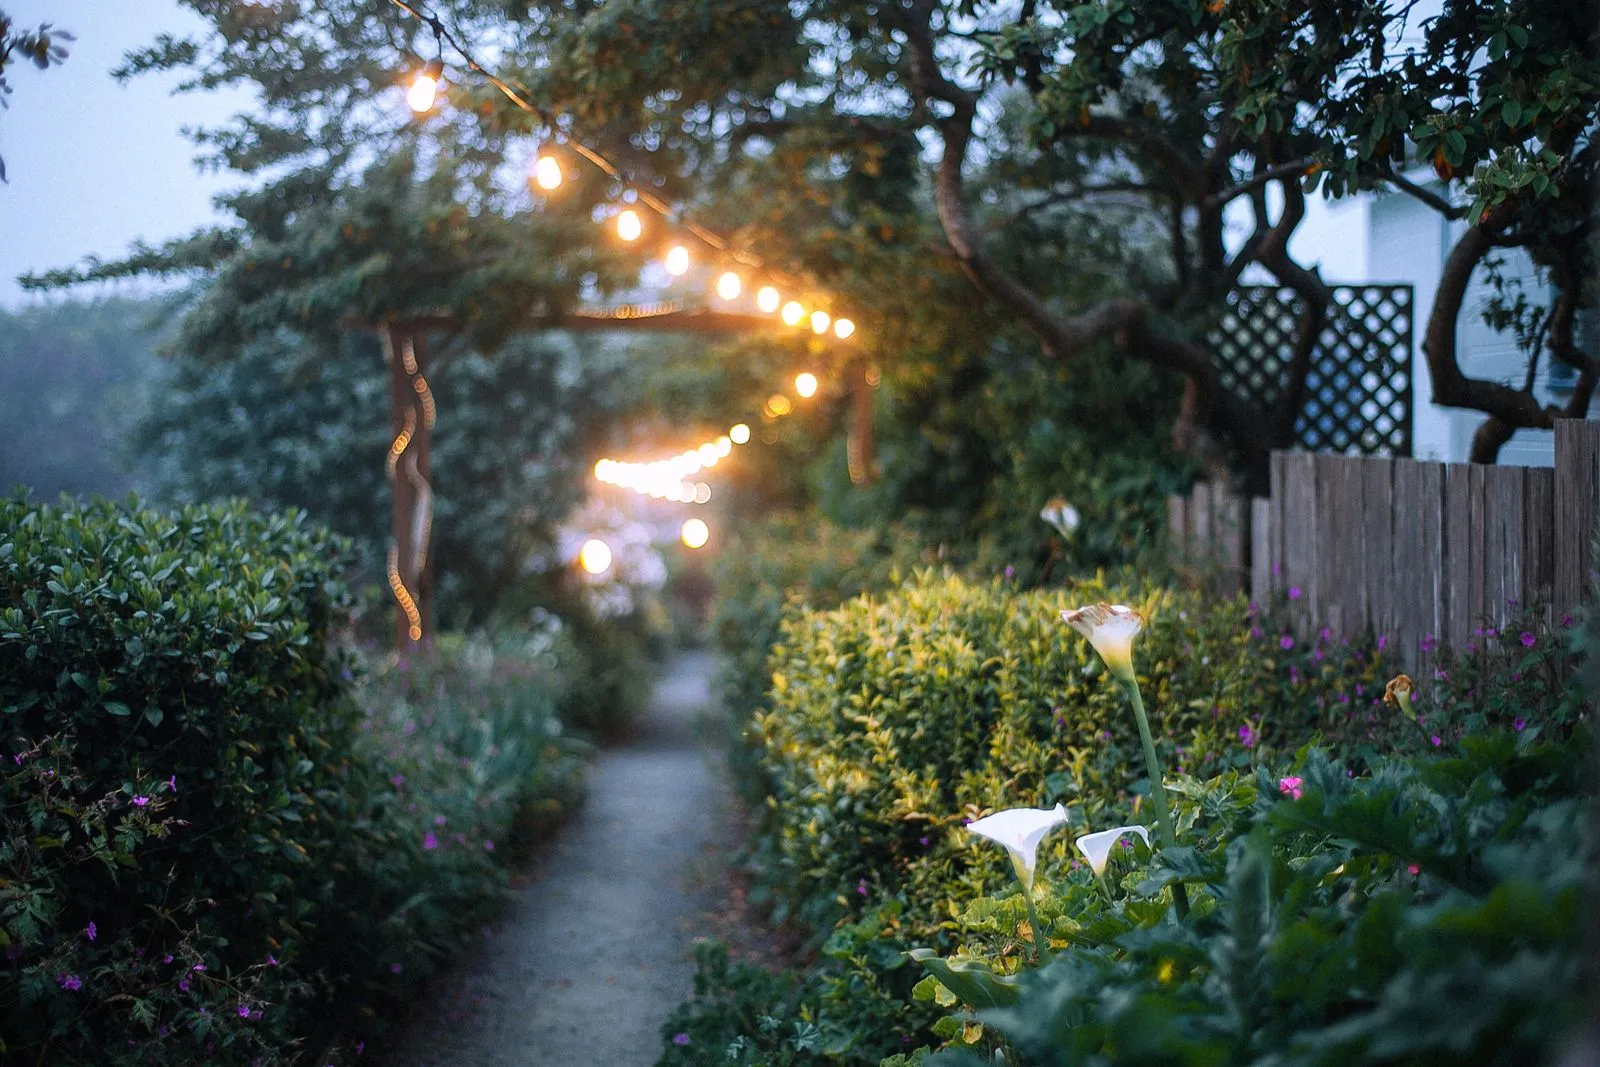
Path lights can make a walkway easier to follow after dark, but adding more fixtures does not always improve visibility. Where each light sits, how far apart fixtures are, and whether the light shines into someone’s eyes all affect the result. Start by looking at how people use the path, including turns, steps, and changes in surface. A simple plan helps you light the walking surface without creating distracting bright spots or leaving dark gaps.
Choose Placement for the Route
Walk the route in daylight and note its edges, bends, steps, slopes, and changes in paving. Place lights where they help someone understand where to walk, rather than lining every straight section automatically. A fixture near a turn can make the direction clearer; lights near steps can help reveal a change in elevation.
For a narrow walkway, placing fixtures along one edge may provide enough guidance while keeping the opposite edge visually open. On wider paths, alternating lights from side to side can spread illumination across the route. Avoid placing fixtures where people step off the path, where doors swing, or where landscaping work could easily knock them over.
Adjust Spacing to the Site
There is no single spacing that works for every path. Fixture height, beam spread, brightness, surrounding trees, and the path’s width all change how far the light reaches. Begin with the manufacturer’s guidance, then check whether each pool of light overlaps enough to make the walking surface readable without turning the path into a row of bright circles.
Use closer spacing where the route changes direction, passes over steps, or is shaded by dense planting. A straight, open stretch may need fewer fixtures. Before final installation, test the proposed positions at night if possible. Move lights to address dark gaps, but avoid solving every shadow by simply adding another fixture.
Control Glare and Bright Spots
Glare can make a path harder to use, especially when a lamp is visible from eye level or shines toward someone approaching from the opposite direction. Choose fixtures with shields or recessed lamps that direct light down onto the walking surface. Aim adjustable heads away from faces, windows, and neighboring properties.
Keep brightness balanced along the route. A very bright fixture beside a dim section can make the darker area seem harder to see. Use lower-output lamps where practical, and consider warm, comfortable color rather than an intense, stark appearance. Check the path from a person’s approaching viewpoint, not only while standing beside the light.
Test Before You Finish
Lay out fixtures temporarily before burying cable or securing mounts. After dark, walk the route in both directions and look for missed edges, awkward shadows, and glare. Check the view from steps and nearby seating too, since a fixture that looks well placed from one angle may shine directly into someone’s eyes from another.
Account for plants as they grow and for maintenance access around each fixture. Keep lights clear of lawn equipment and avoid placing them where roots or routine digging could disturb wiring. If the installation involves outdoor electrical connections, use equipment rated for the location and follow applicable electrical requirements; consult a qualified electrician when the wiring or circuit needs professional attention.
A useful path-light plan follows the route, fills important visibility gaps, and keeps the light out of people’s eyes. Test placement and spacing after dark before making the installation permanent. If you want help planning a walkway lighting layout in Wilmington, Cape Glow Lighting can discuss options for your property.